

You're welcome, buddy. You're just being very polite, I just offered some very general ideas that we all know, but thanks anyway.
 Also, let's see if you'll find posting by a PC is easier than posting by a mobile phone
 S.T.A.L.K.E.R. Modding & Gaming Community Forum
![]() by Nightwatch on 22 May 2009 12:13
by Nightwatch on 22 May 2009 12:13
Also, let's see if you'll find posting by a PC is easier than posting by a mobile phone 
![]() by VINTAR on 23 May 2009 16:14
by VINTAR on 23 May 2009 16:14

![]() by Grump642 on 24 May 2009 01:05
by Grump642 on 24 May 2009 01:05

![]() by VINTAR on 24 May 2009 12:18
by VINTAR on 24 May 2009 12:18
![]() by nandersen on 24 May 2009 15:21
by nandersen on 24 May 2009 15:21


![]() by VINTAR on 25 May 2009 12:03
by VINTAR on 25 May 2009 12:03
) will try further) , going to buy 2 GIGS more)
![]() by nandersen on 25 May 2009 13:13
by nandersen on 25 May 2009 13:13
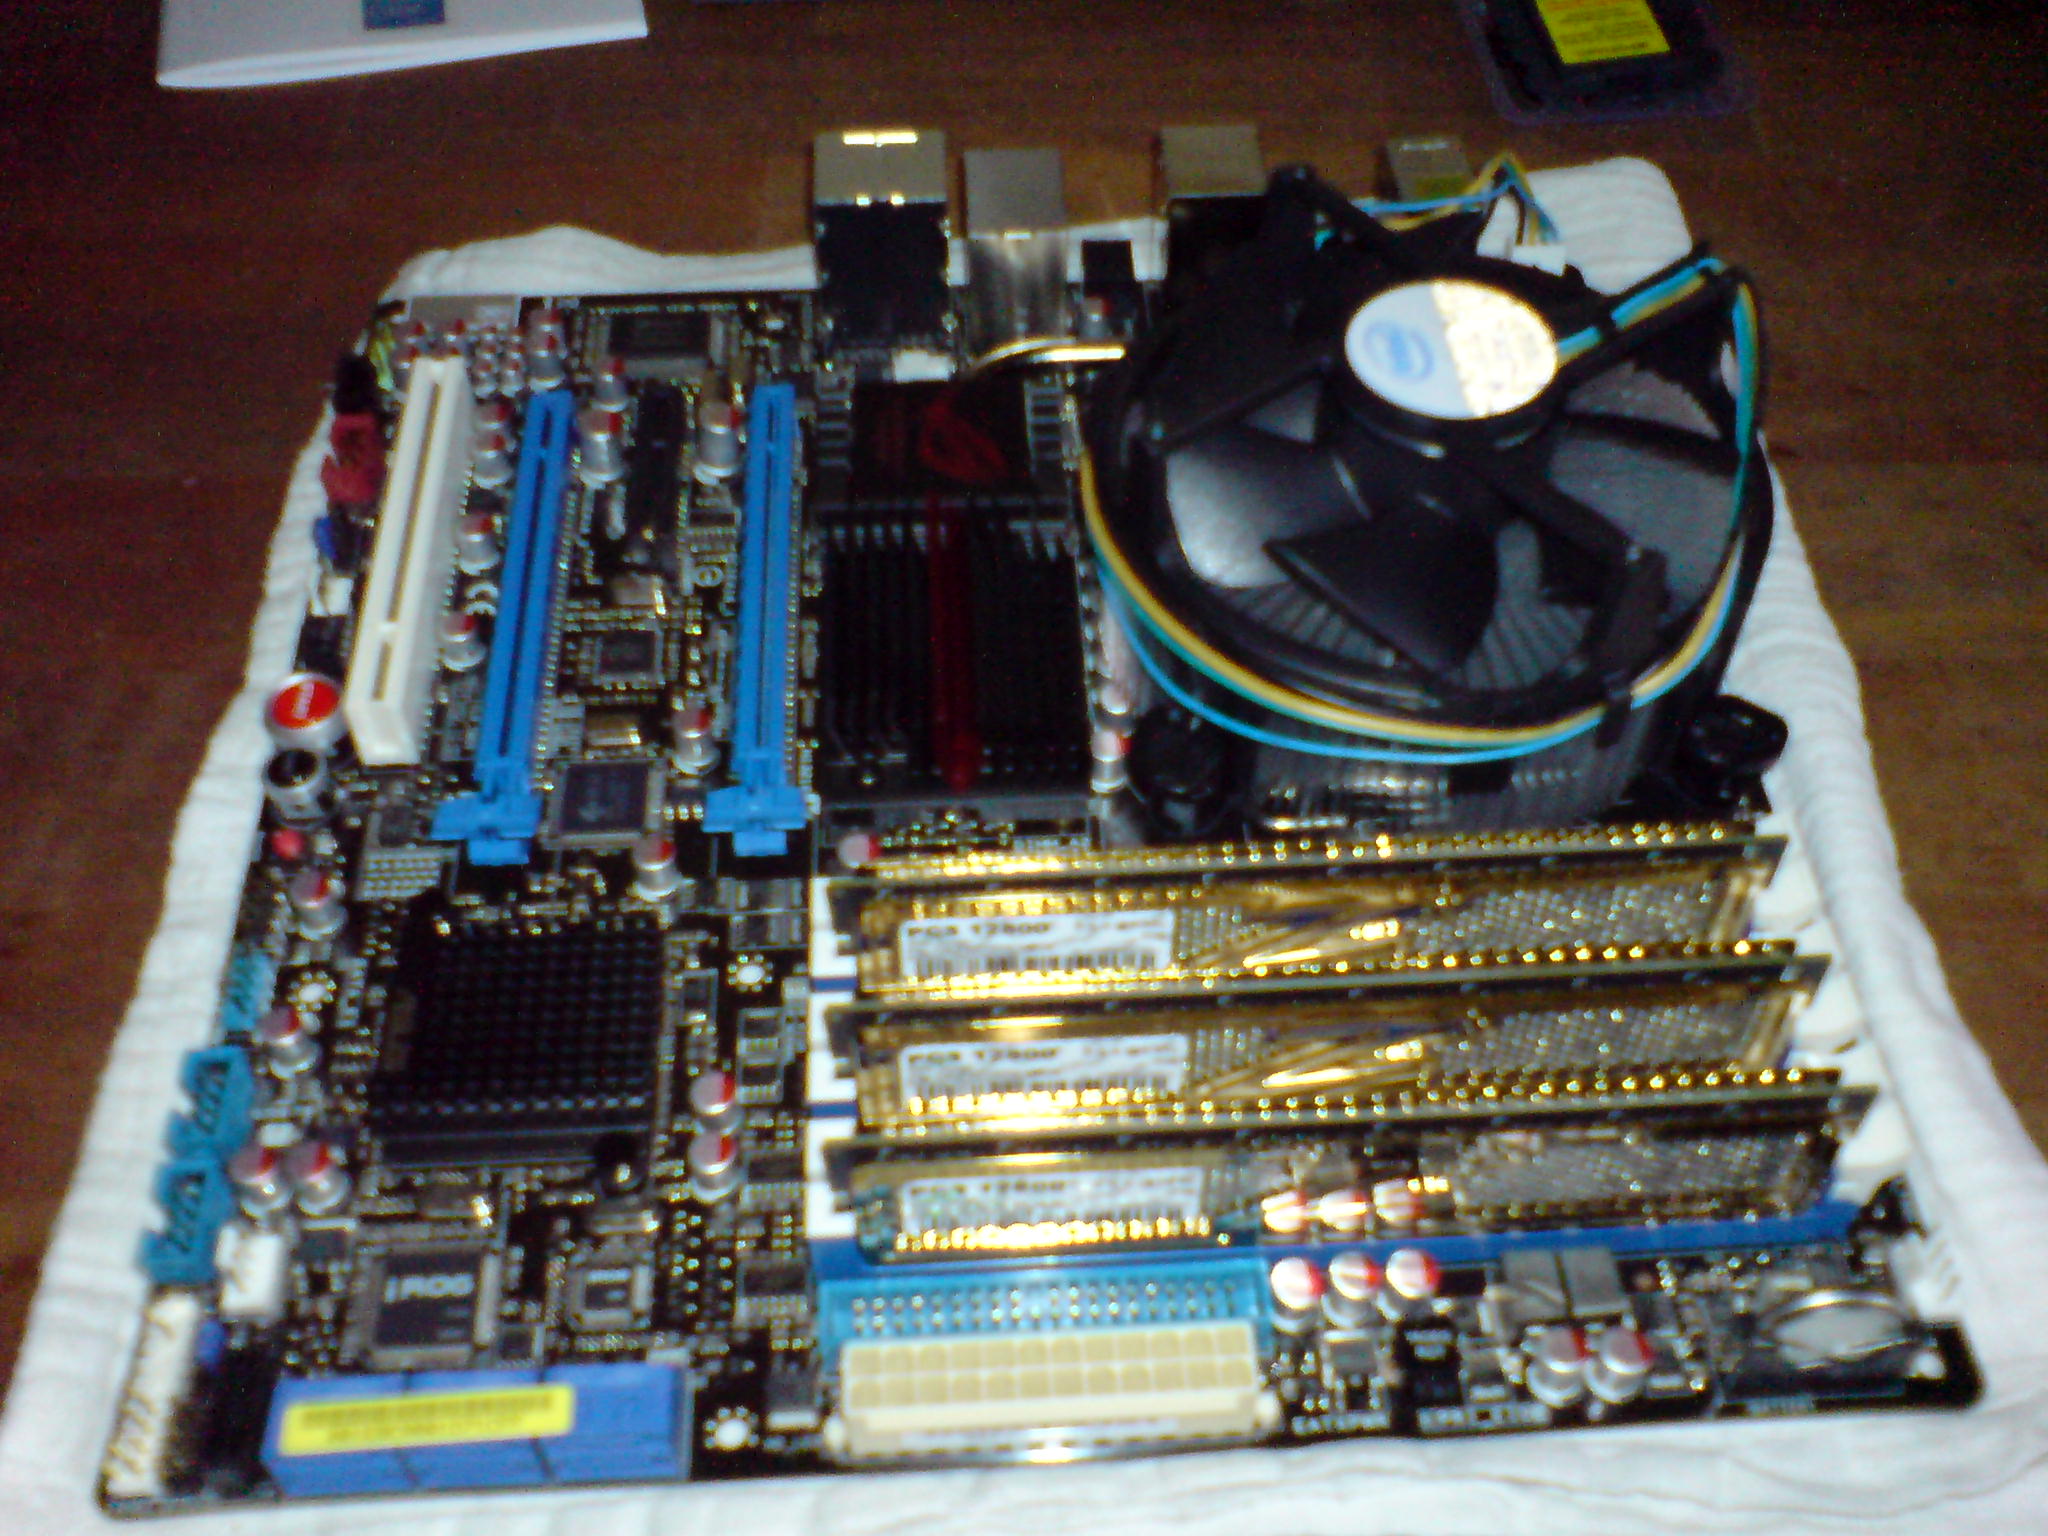
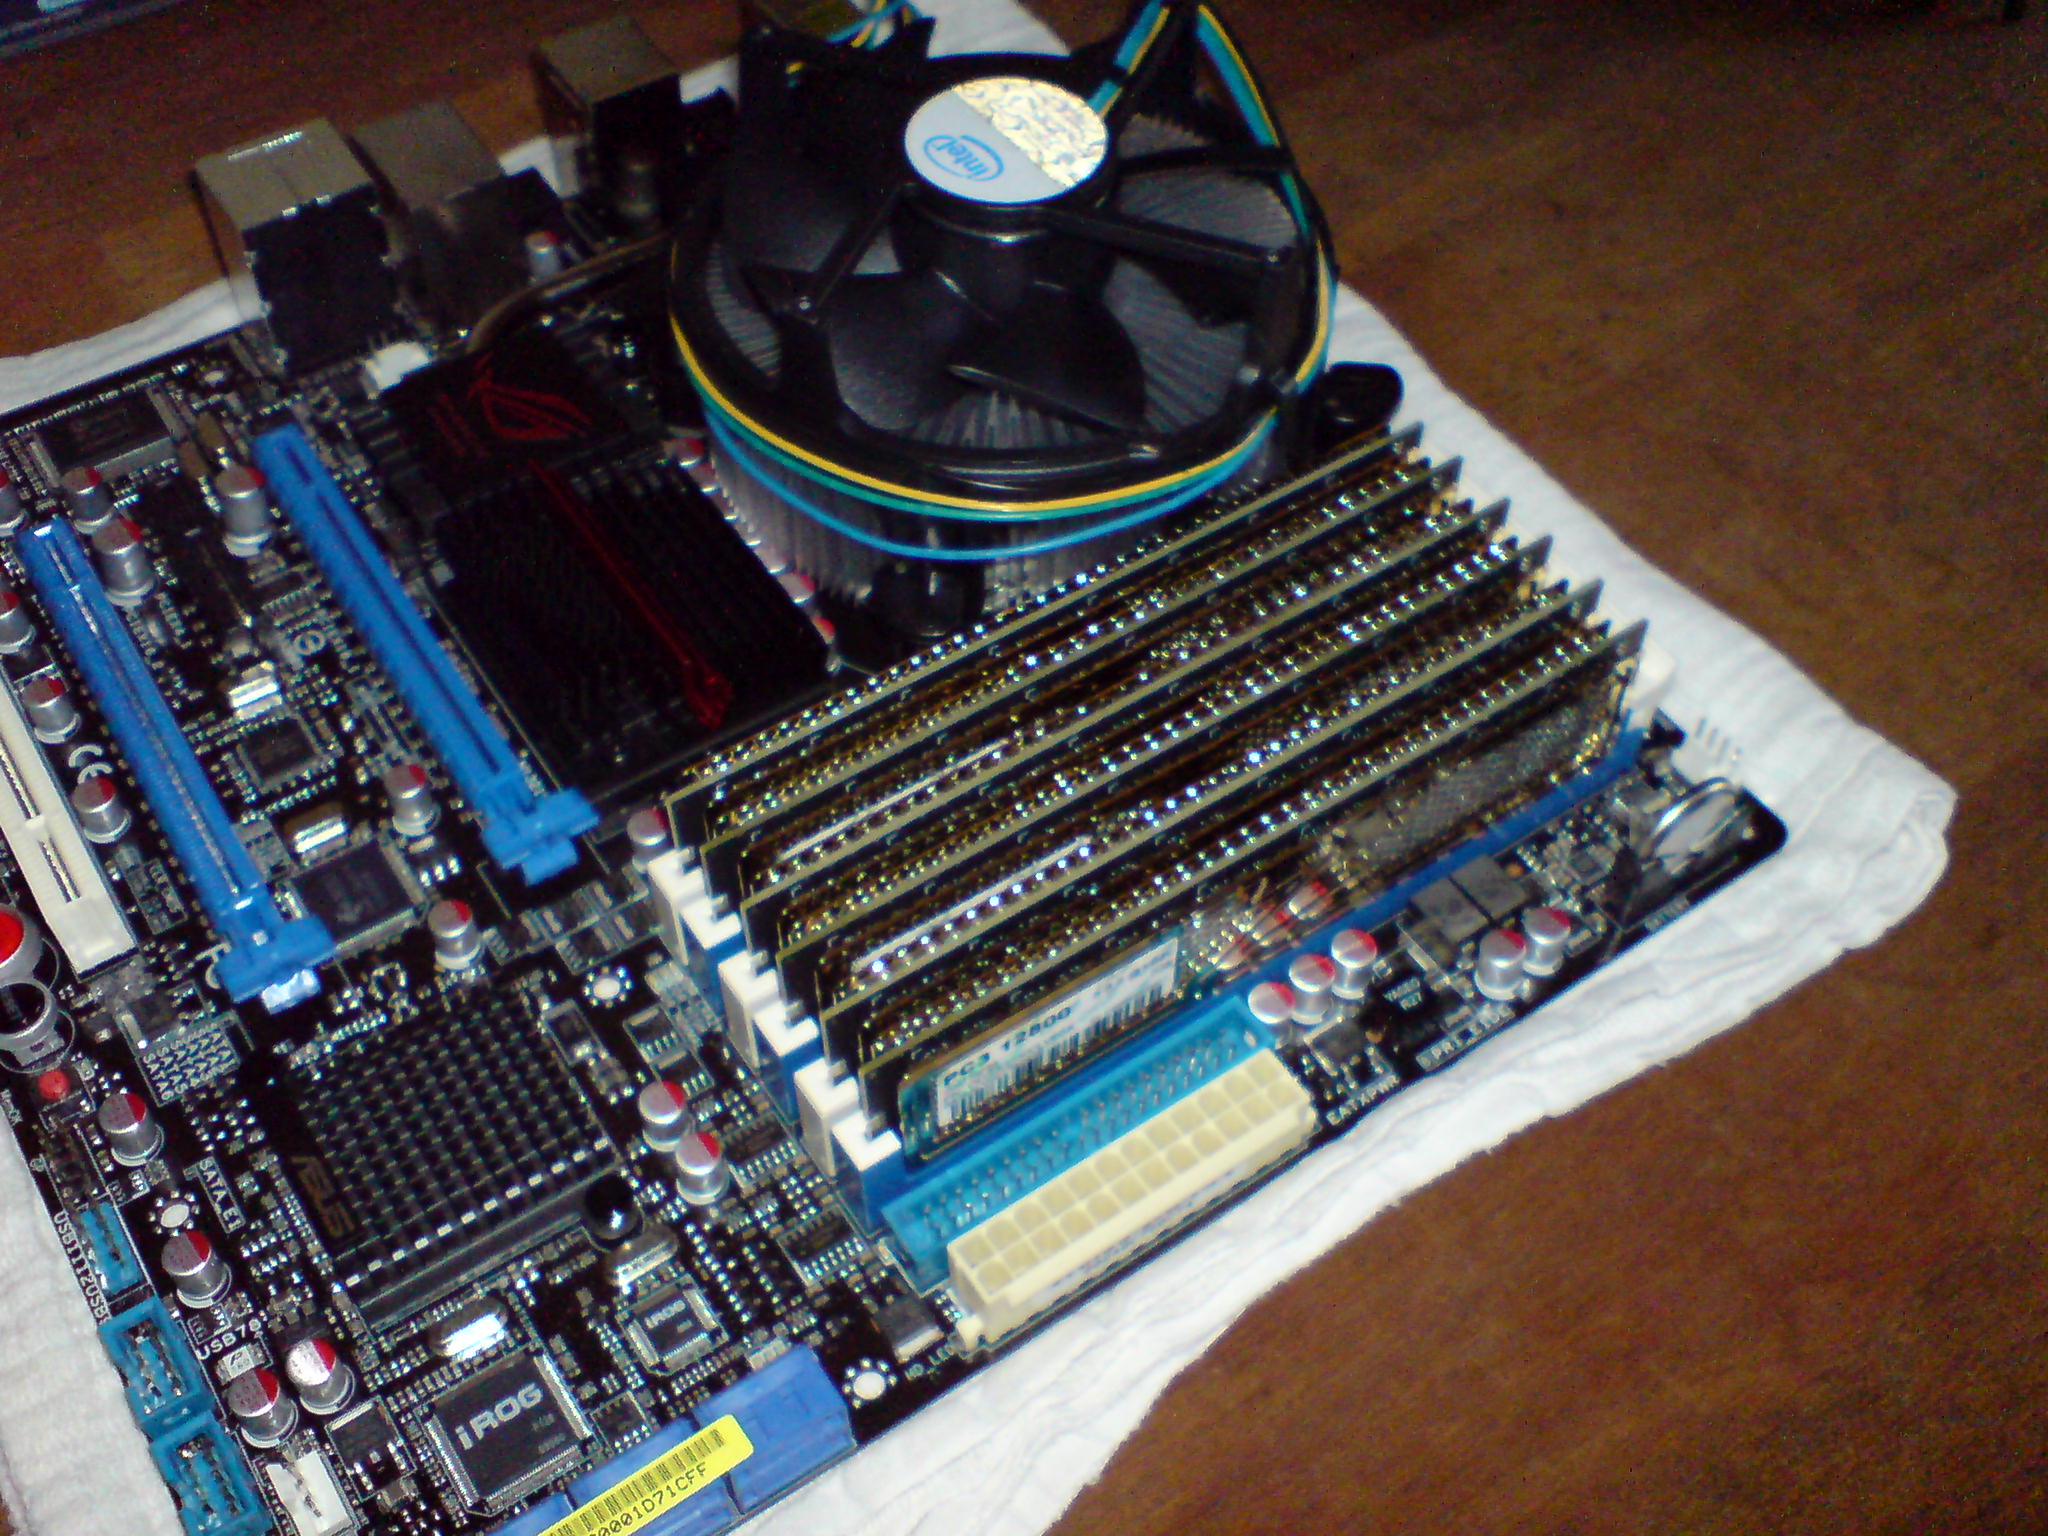
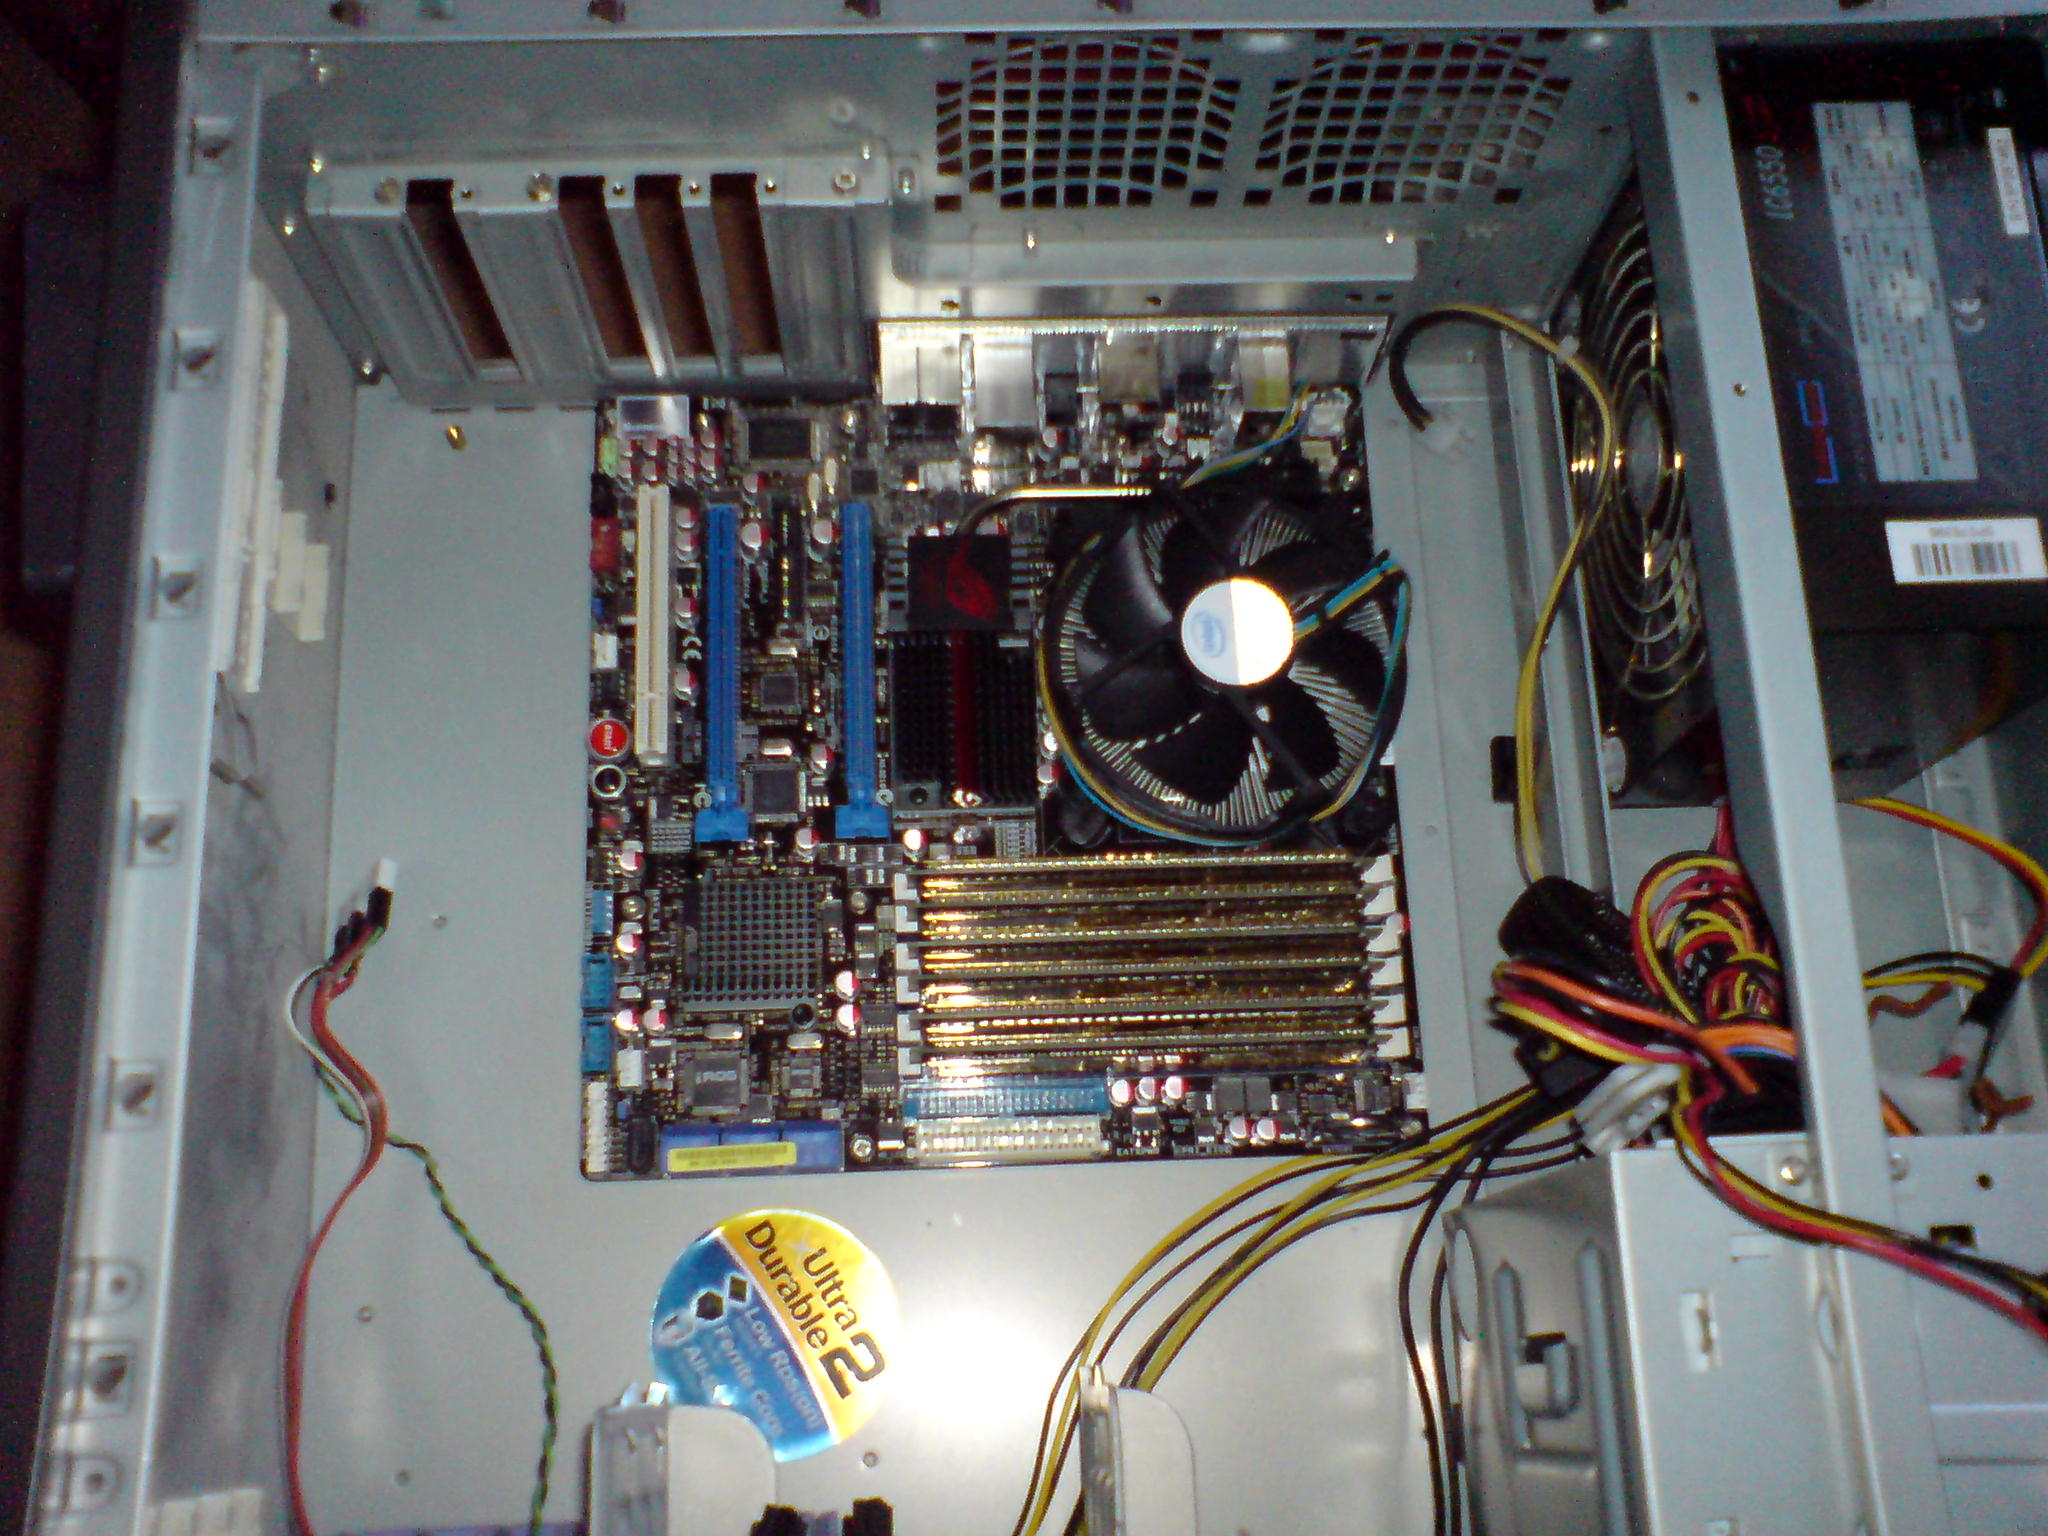
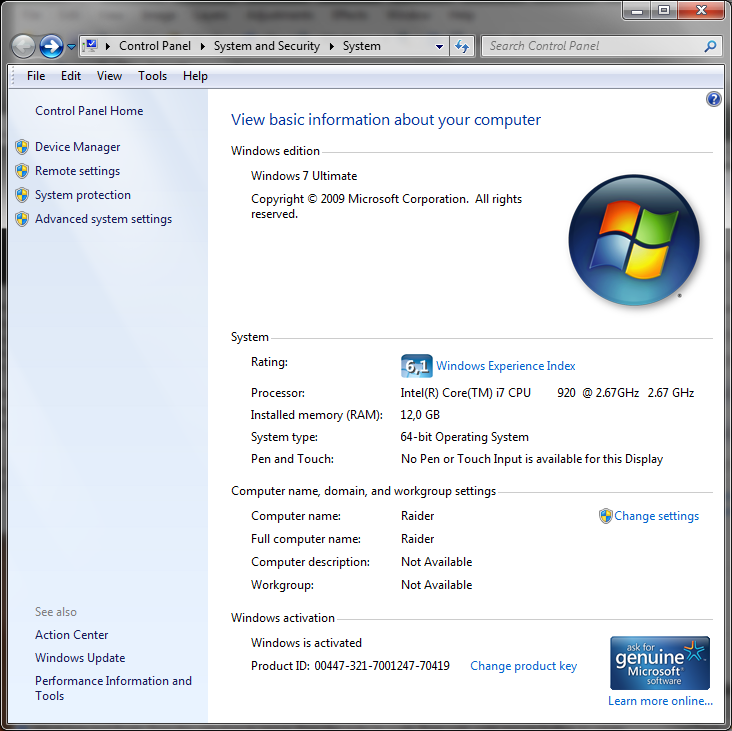
VINTAR wrote:CPU idling at 29c, pretty cool base to start with for O/C`ing
75 FPS average in Fallout 3 so far with GPU running at about 40c
![]() by EggChen on 25 May 2009 13:14
by EggChen on 25 May 2009 13:14
VINTAR wrote:Only problem I`m having is the sound not working ingame. Anyone have an idea what I can try? Or should I reinstall audio drivers?

![]() by VINTAR on 25 May 2009 15:02
by VINTAR on 25 May 2009 15:02
 eggchen, i am using onboard sound with normal earphones not usb. Ill try reinstalling audio drivers from the mobo disc tonight and see what happens. I connected the harddrive from my old tuter last night and was copying everything across, i suspect that i overwrote my drivers.
![]() by VINTAR on 25 May 2009 15:05
by VINTAR on 25 May 2009 15:05
![]() by audioave10 on 25 May 2009 19:10
by audioave10 on 25 May 2009 19:10

![]() by nandersen on 25 May 2009 23:15
by nandersen on 25 May 2009 23:15
![]() by audioave10 on 26 May 2009 04:10
by audioave10 on 26 May 2009 04:10
![]() by Grump642 on 26 May 2009 04:26
by Grump642 on 26 May 2009 04:26
![]() by nandersen on 26 May 2009 06:21
by nandersen on 26 May 2009 06:21
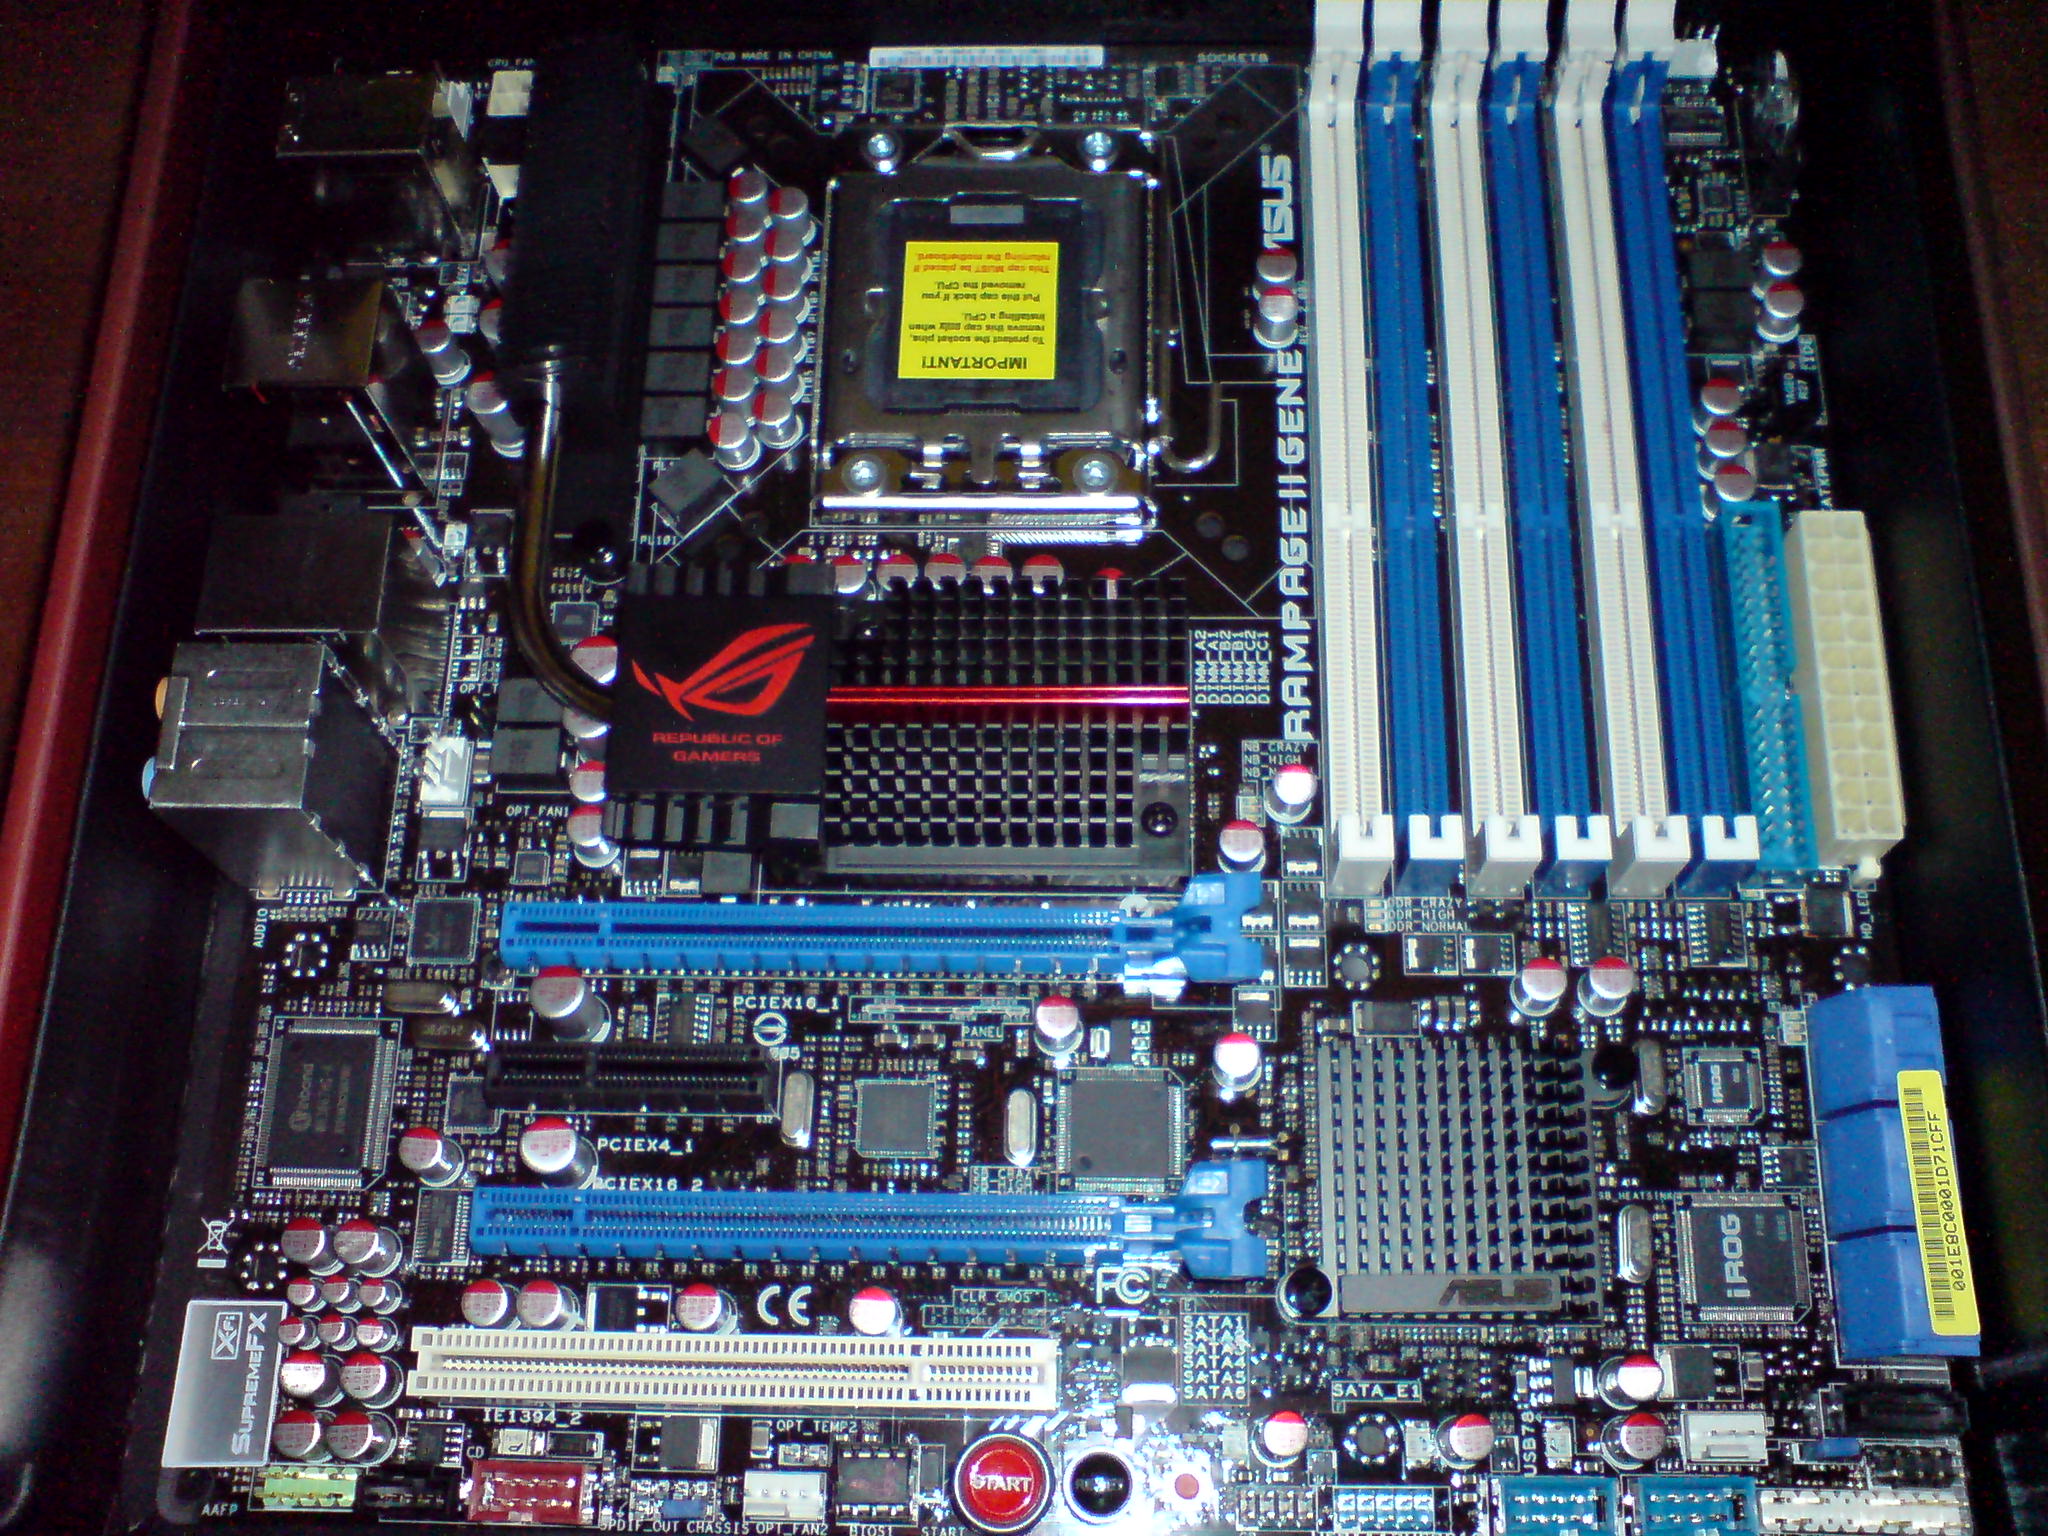
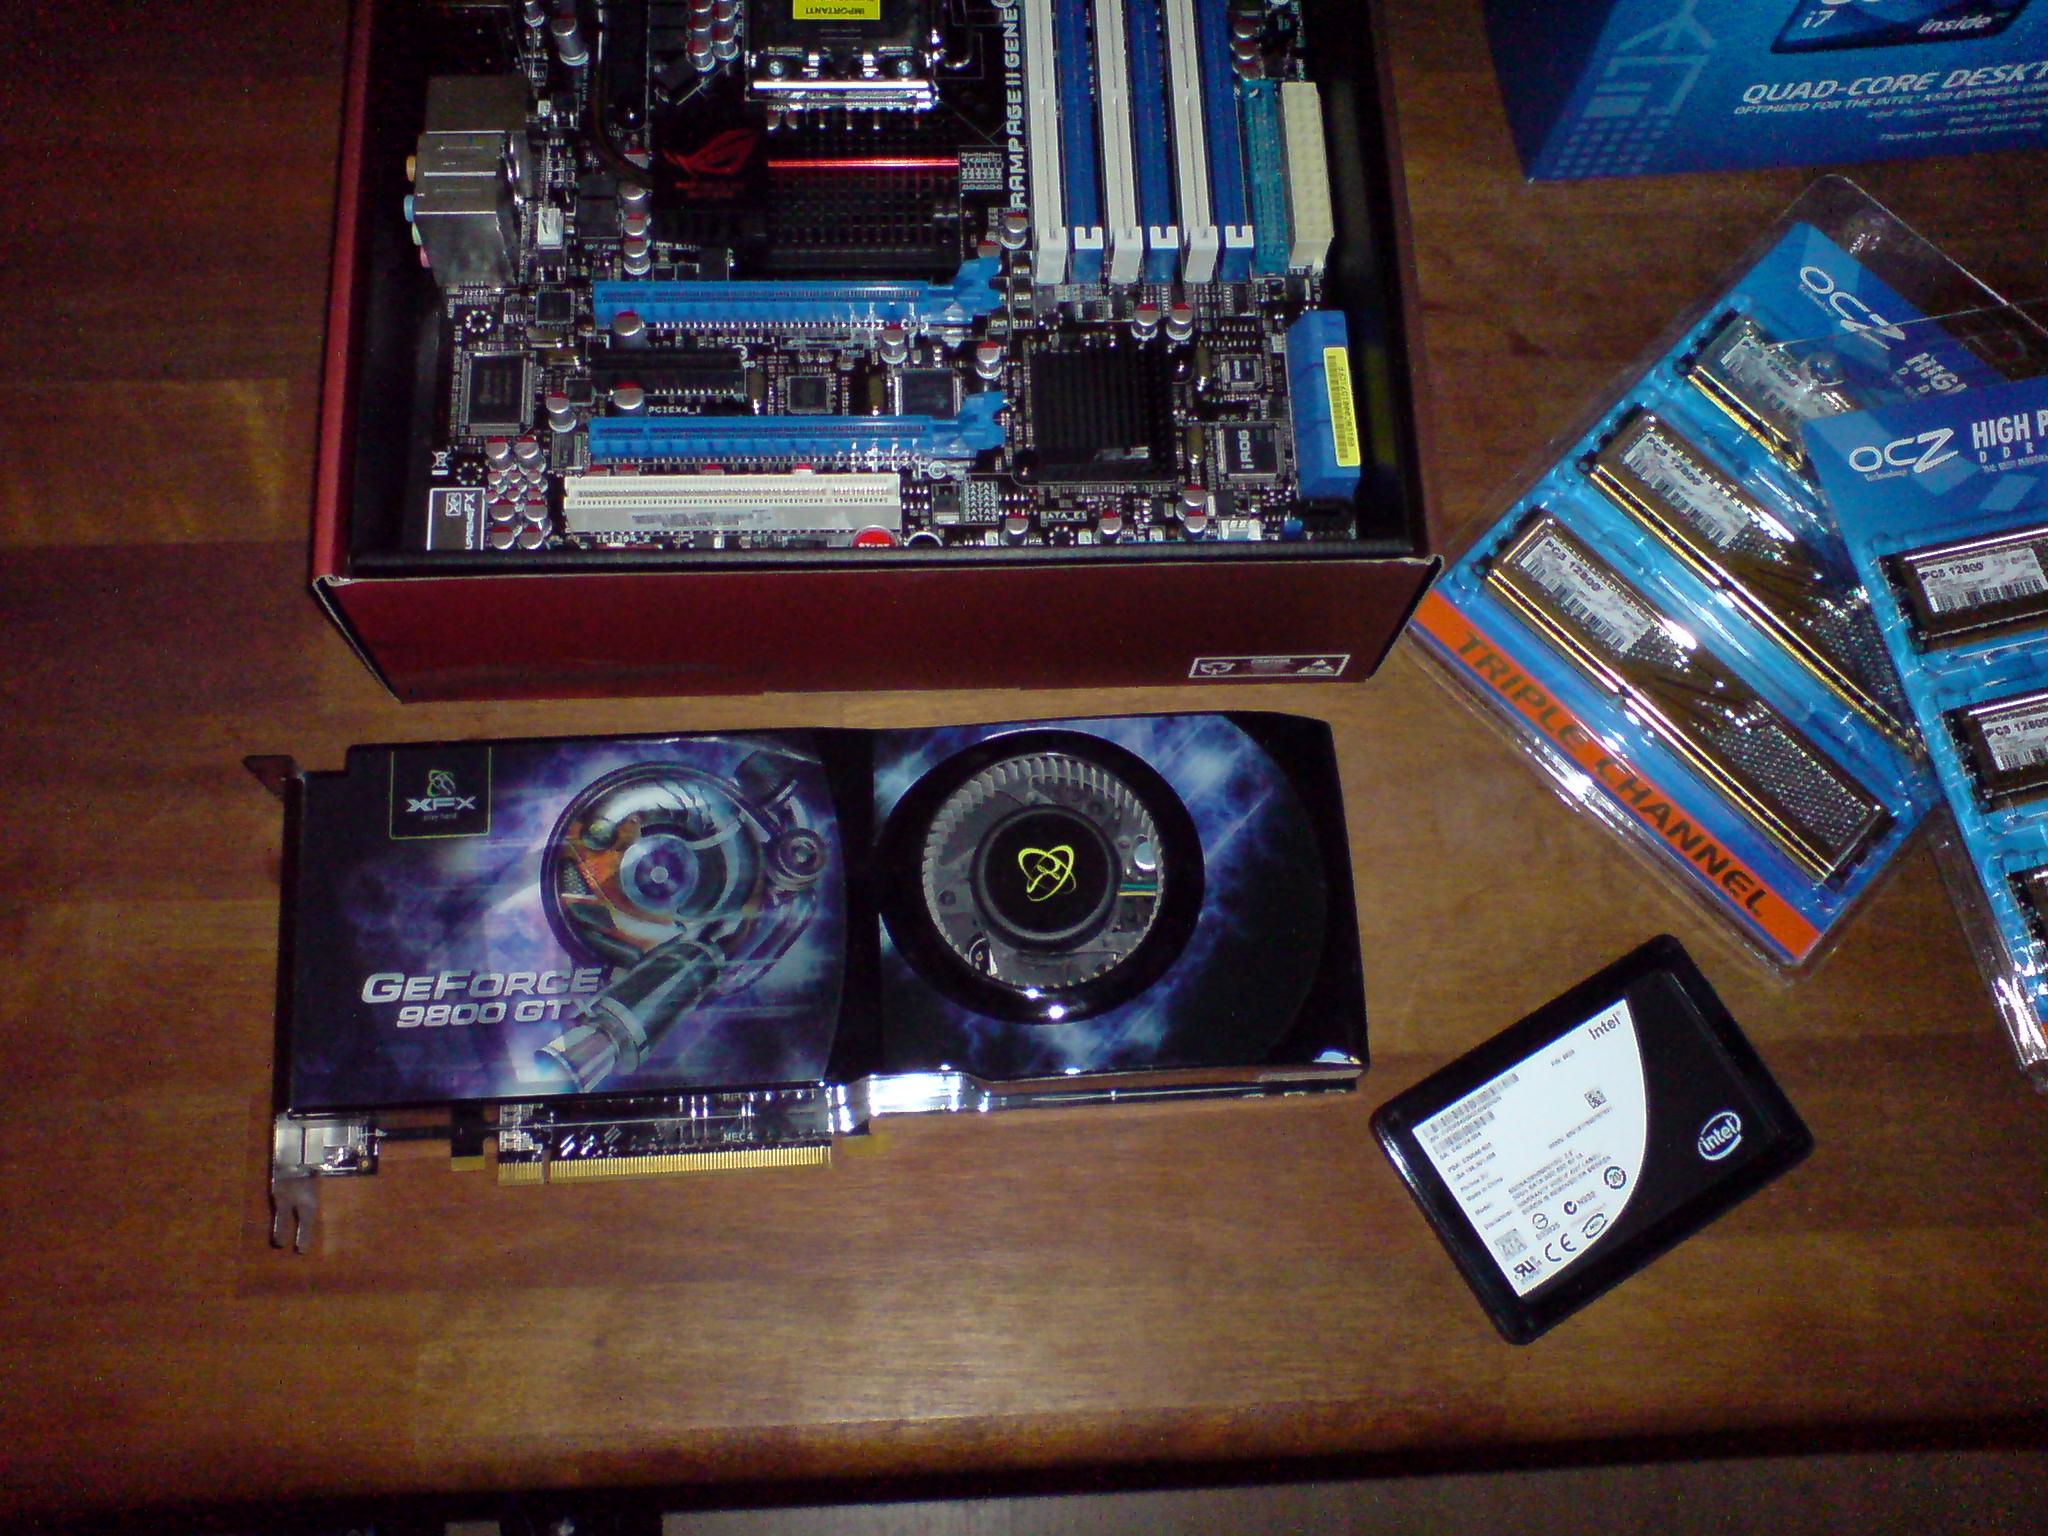
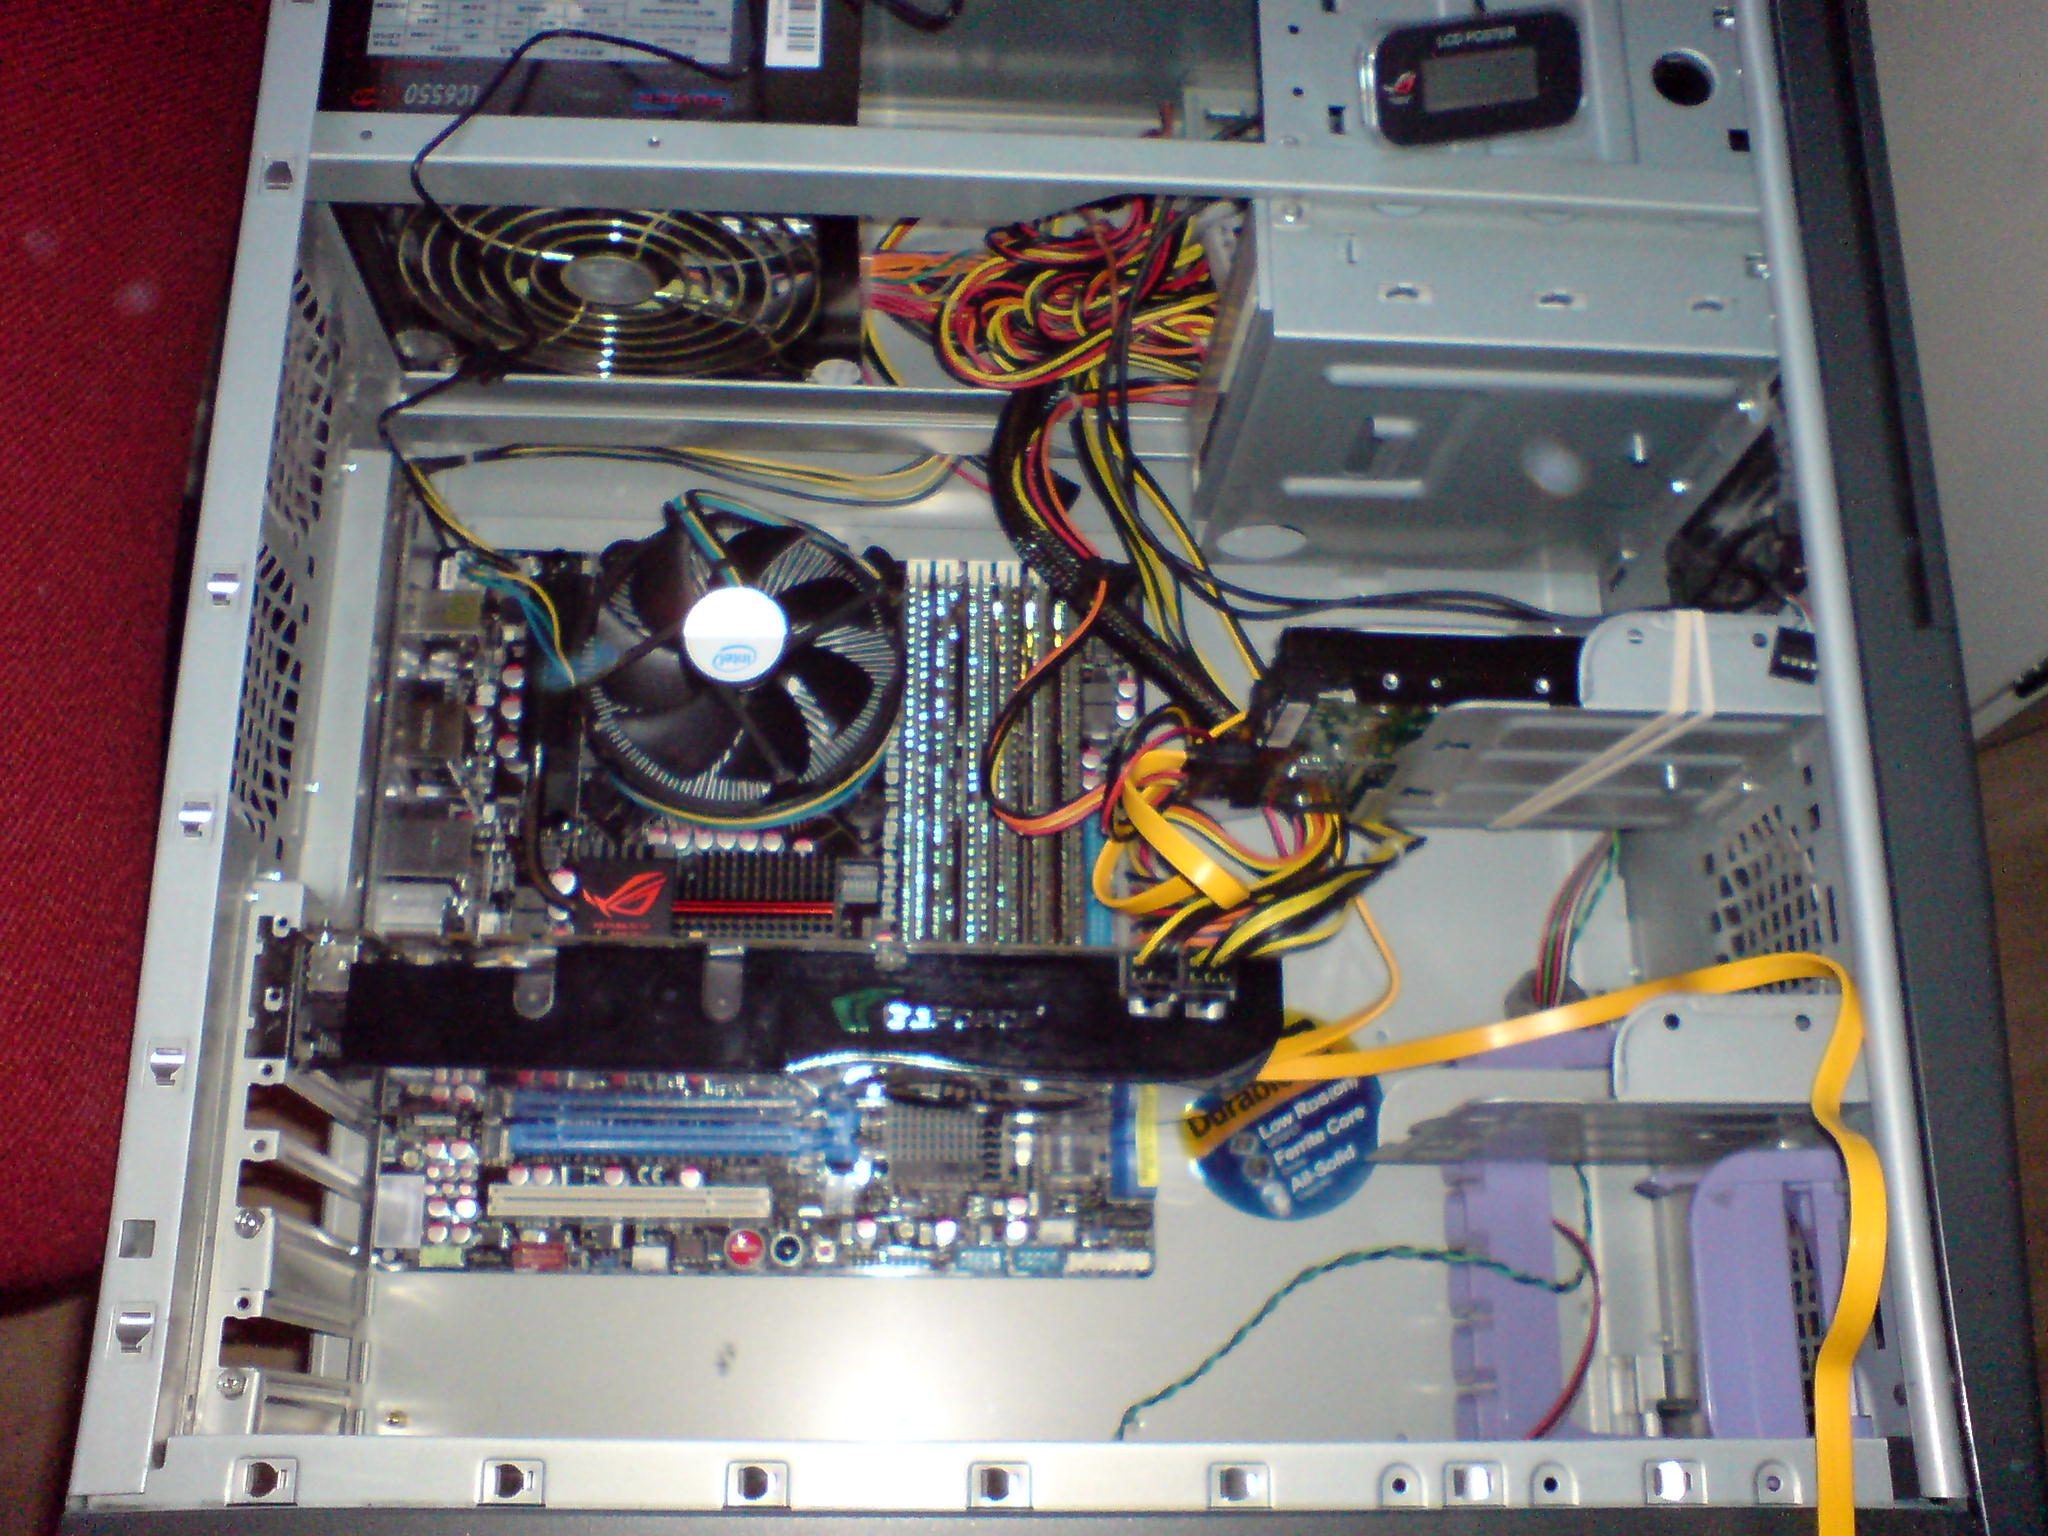
Grump642 wrote:Did you go with the Gene MoBo for a reason? Considering its size, I mean.
![]() by VINTAR on 26 May 2009 06:31
by VINTAR on 26 May 2009 06:31
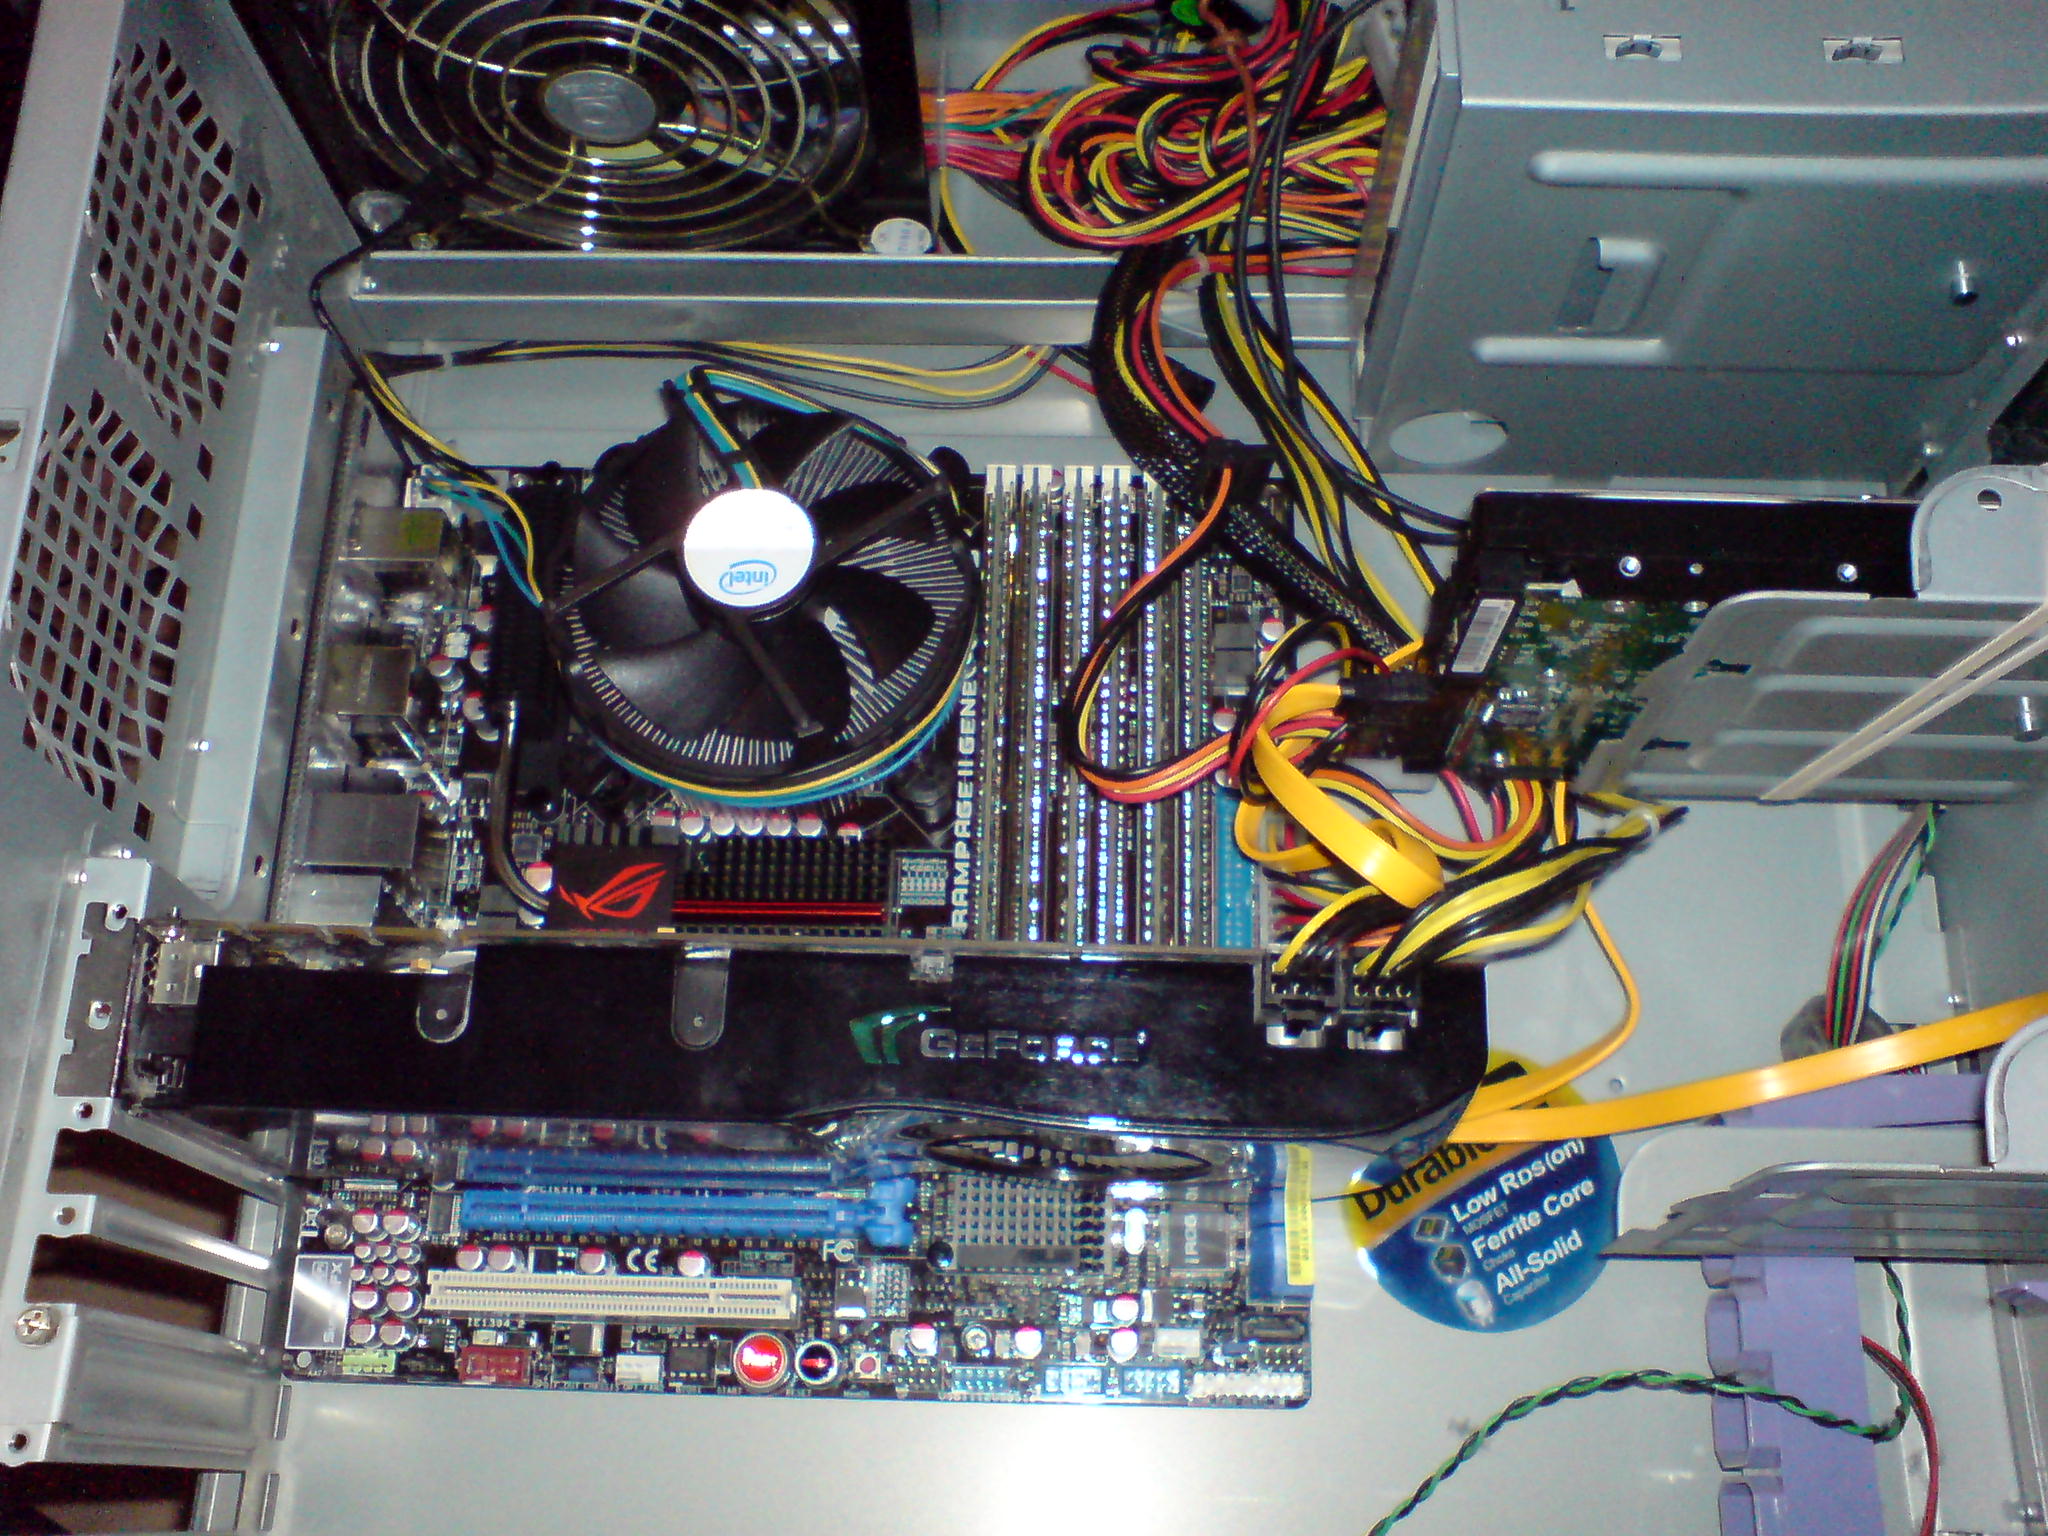
i sorted out my audio problem last night. Seems that the mobo automatically sets front audio jack to hi definition audio. Converted it to two channel and voila. I also notice that my harddrive is set to ide mode. You think it would give you the option of sata, but it says ahci and somethiing else. What is ahci and should i be set to that? Everything is running though.![]() by nandersen on 26 May 2009 07:40
by nandersen on 26 May 2009 07:40
![]() by VINTAR on 26 May 2009 09:37
by VINTAR on 26 May 2009 09:37
![]() by nandersen on 26 May 2009 09:42
by nandersen on 26 May 2009 09:42
Users browsing this forum: No registered users and 0 guests